Building webhook apps
Introduction
This tutorial will help you build a LiveChat webhook integration. Follow the steps below if you're developing an integration that reacts to internal LiveChat events, such as a new incoming chat or a queued visitor.
Use cases
A typical use case for a webhook integration is connecting LiveChat to an external CRM, marketing automation tools, or data analytics platforms. For instance, if you're integrating LiveChat with a marketing automation tool, you can add a new contact there every time a LiveChat visitor starts a chat.
Important notes
Before you start, you'll need to have a basic knowledge about webhooks and the LiveChat authorization protocol, OAuth2.1.
This tutorial will not answer questions on building integrations that pull data on demand (as opposed to pulling data in reaction to some LiveChat events). If you want to pull LiveChat reports on request, you should be using Data & Reporting APIs.
What are webhooks?
LiveChat can send notifications when some specific actions are performed. Such a notification is called a webhook – it’s a simple HTTP request that LiveChat sends to your server when a particular event occurs. Please see the following documents for reference on how to manage webhooks:
- How to set up webhooks
- A list of available webhooks along with their format samples
When your server receives a webhook from LiveChat, it should respond with HTTP 200 response. Otherwise, LiveChat will retry sending the webhook to your service a number of times until it receives the correct HTTP 200 response.
The timeout is set to ~10 seconds. If we don't receive HTTP 200 response within that time period, we'll retry sending the webhook up to 10 times within 6 hours.
If your endpoint is responsible for both receiving data from our webhook and making further actions, like creating a record in your database, then the whole process may take longer than 10 seconds. In such a case, we believe the best solution would be to split your mechanism into two separate actions:
1) Retrieving data from the LiveChat webhook (sending HTTP 200 back to us immediately).
2) Further processing of the data and passing it to other services.
That would prevent situations in which the process takes longer than our webhook timeout and data isn't pushed from our side again.
Note: LiveChat webhooks are sent with Content-Type: application/json
header, so please make sure that your service can handle such requests.
Basic tutorial
1. Sign in to Developer Console
To build an integration, you'll need an account in the LiveChat Developer Console. Sign up here and get access to all Platform Developer Tools.
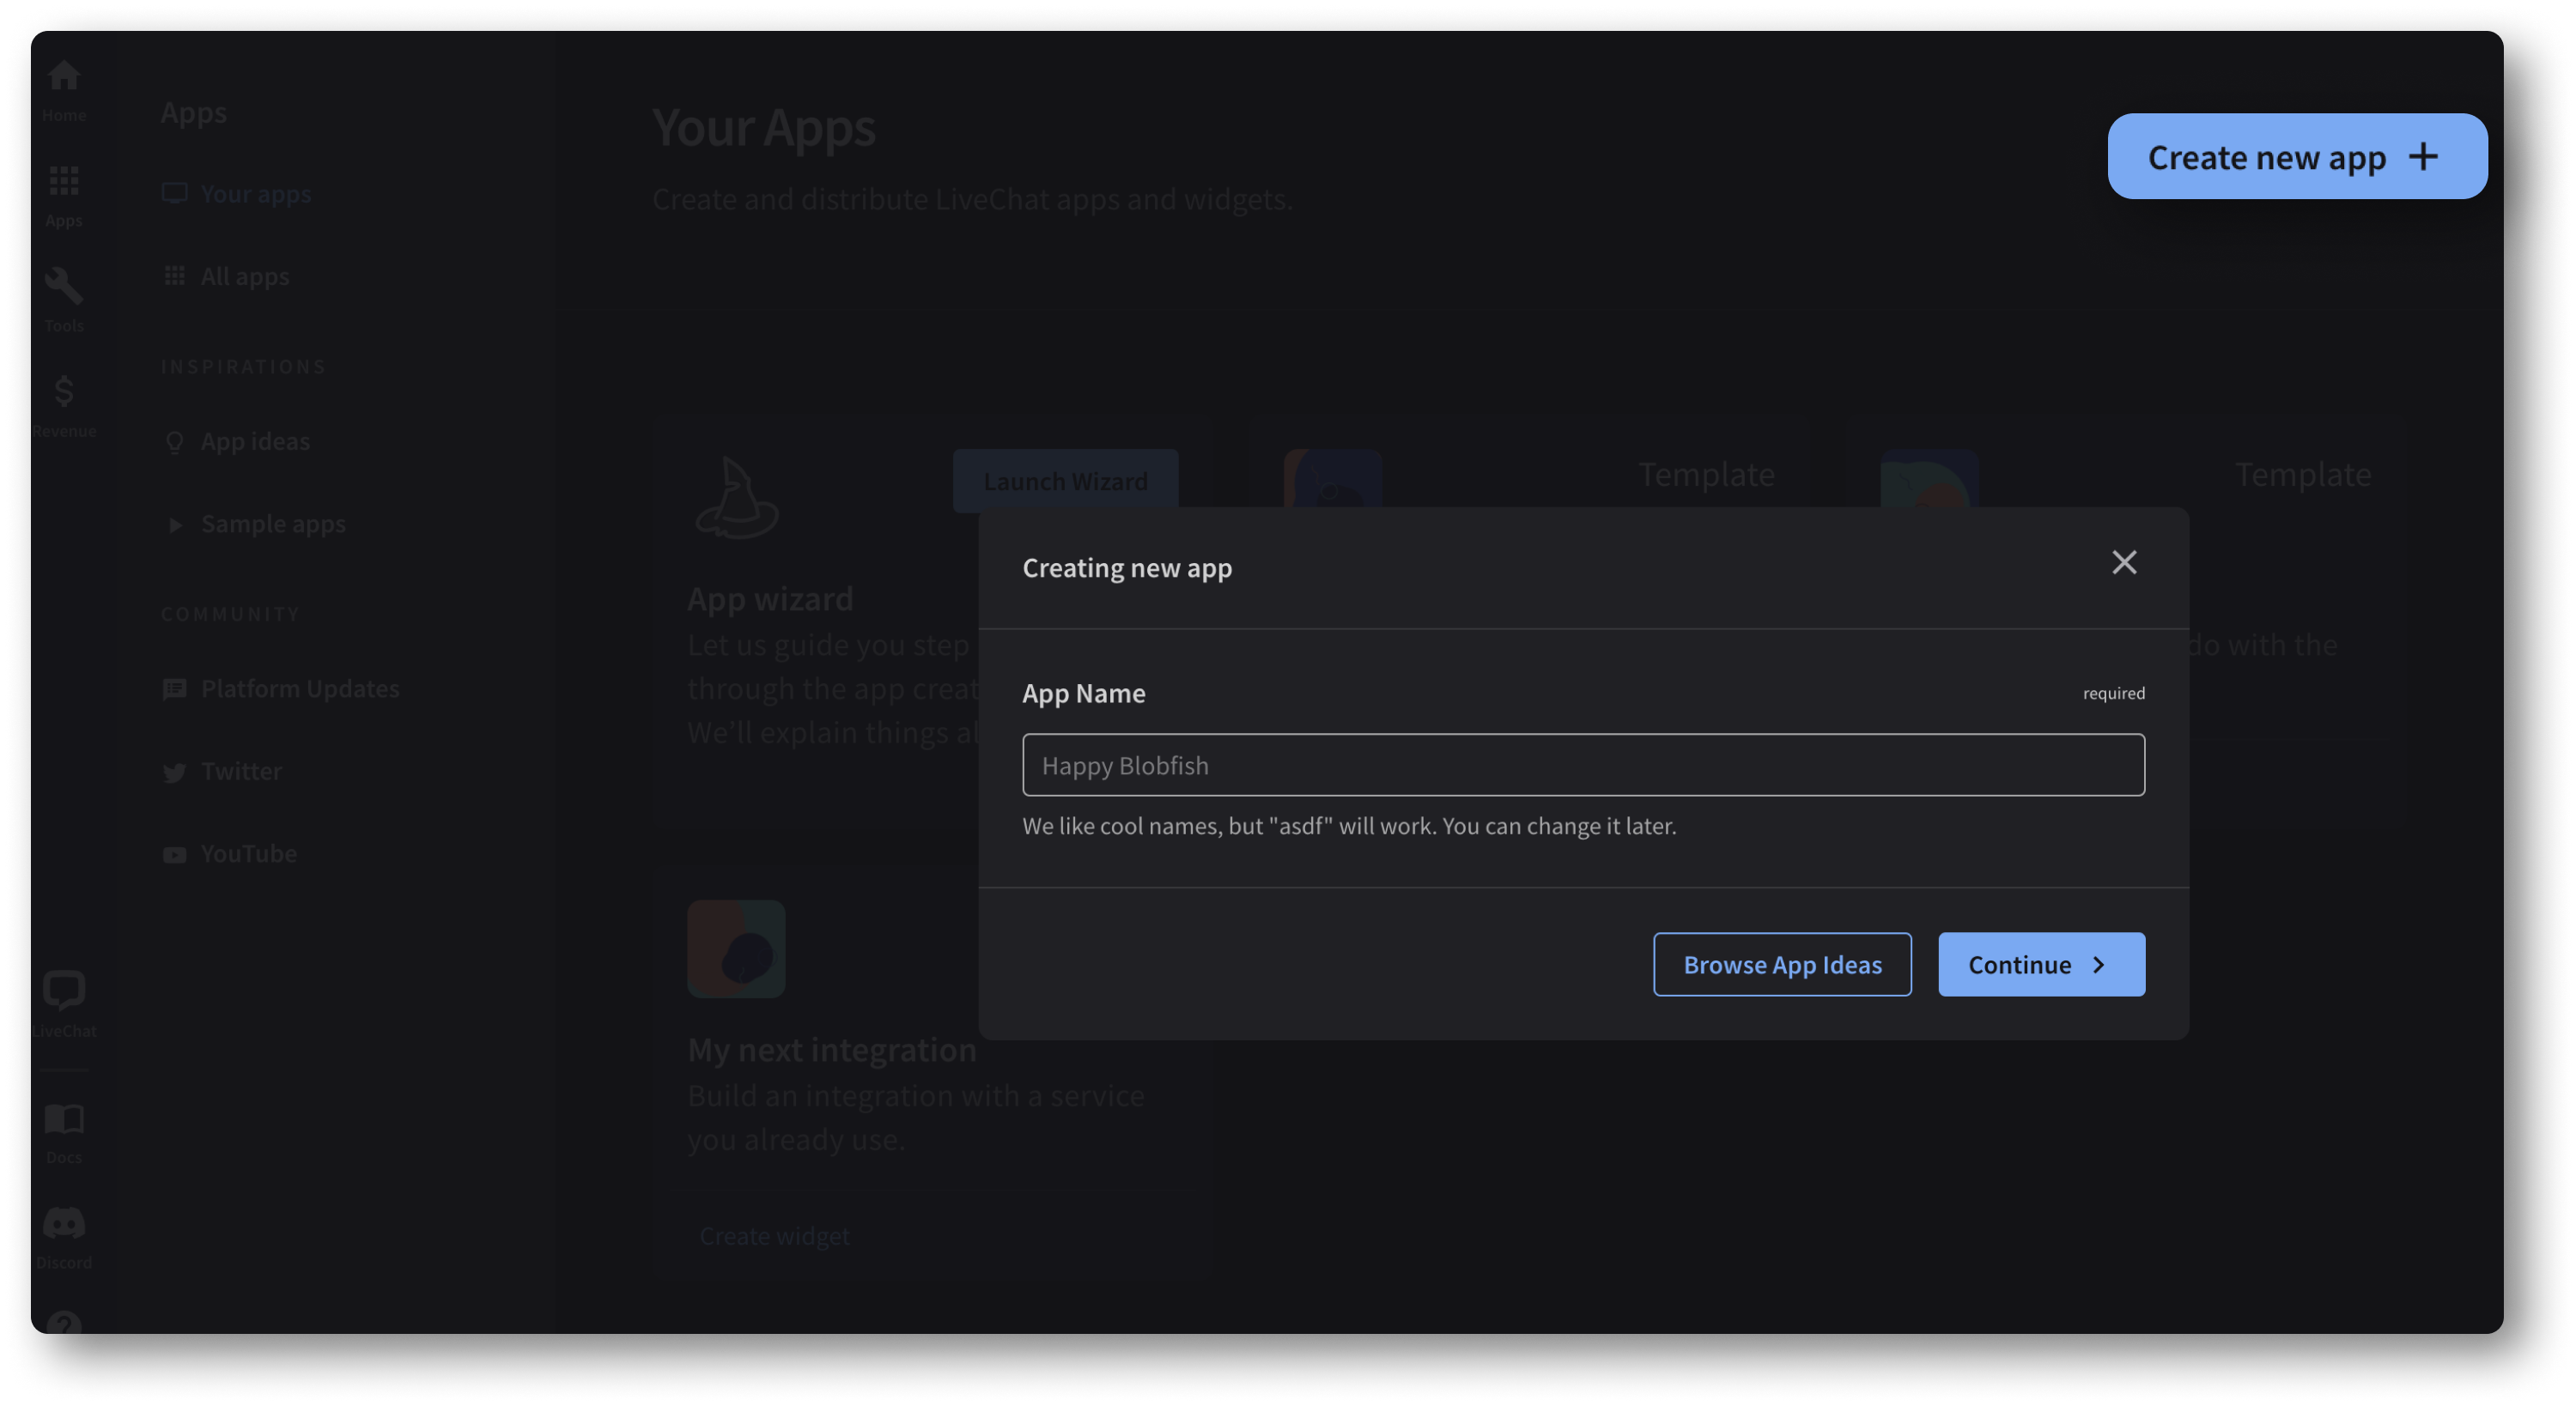
2. Create a new app
Once you register an account, create a new application in the Developer Console using the Create new app
button.

3. Add the Agent App Widgets block
Go to the Building Blocks section and create a new Agent App Widget with App Settings
as the placement. This widget will be displayed as a settings page for your app.

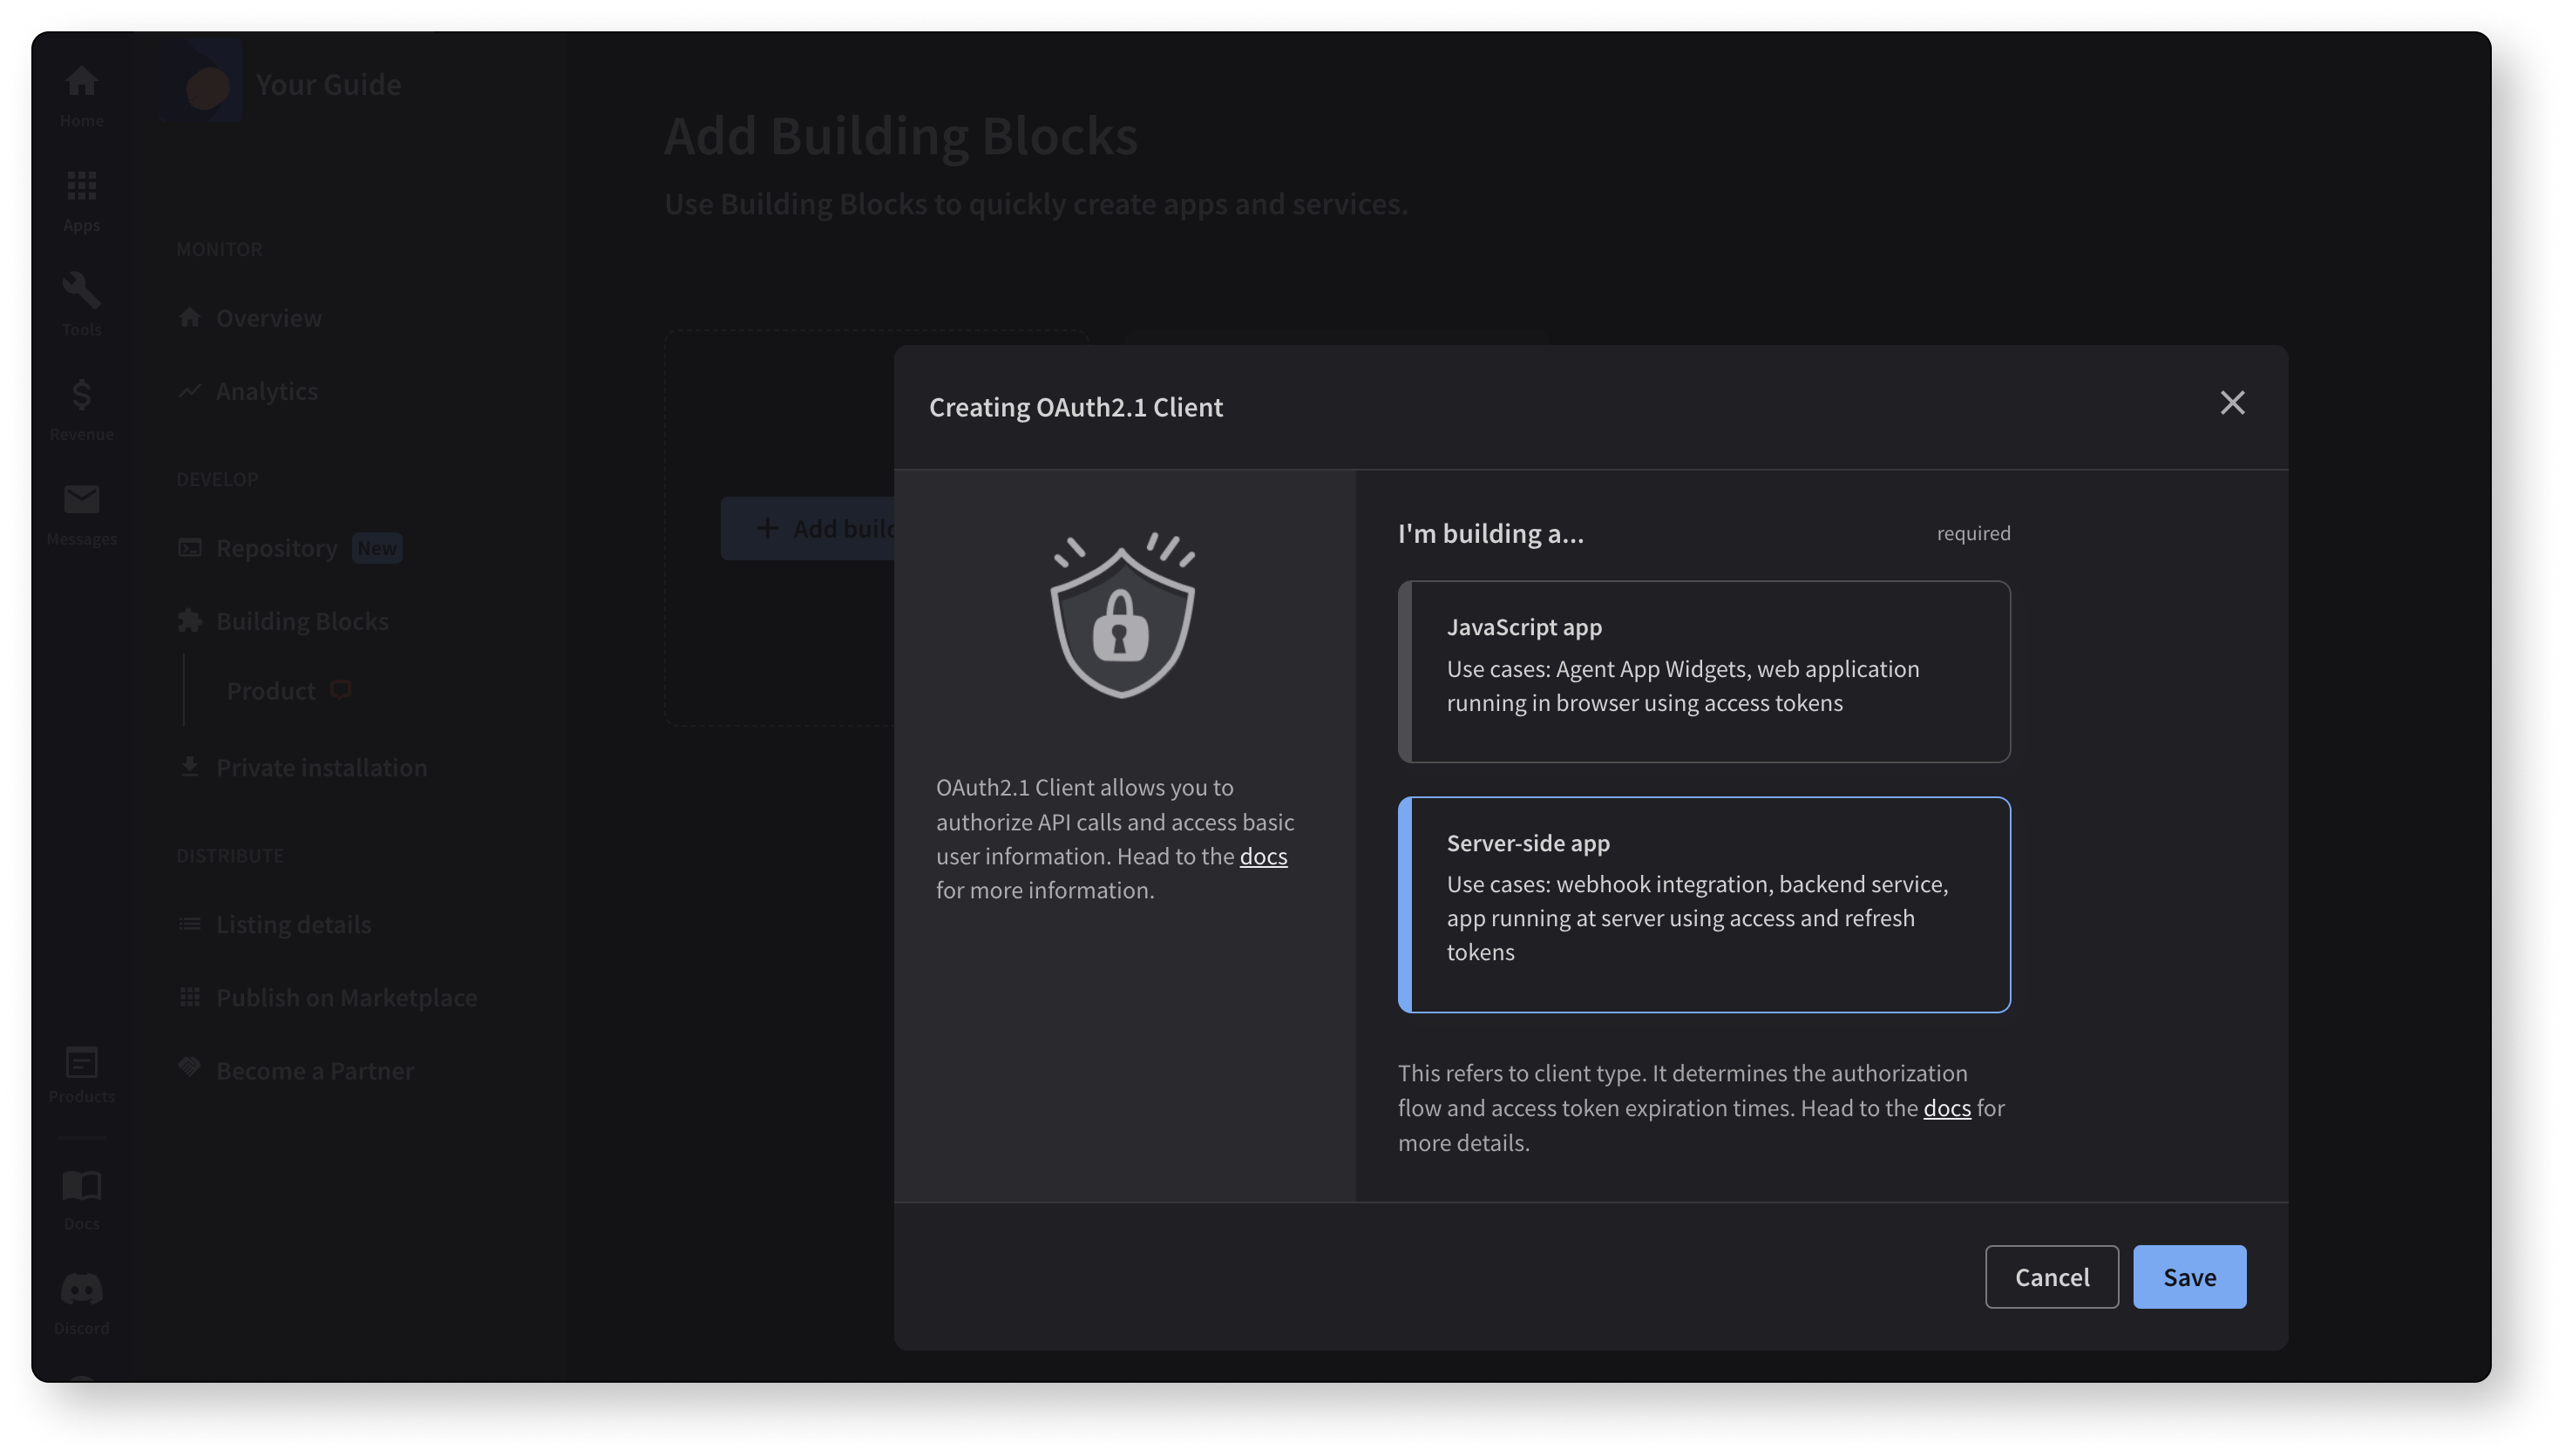
4. Add the App Authorization block
Go back to the Building Blocks section and add the Server-side app
option. Save the highlighted Client Id
and Client Secret
– you'll need them both to complete the authorization later.

5. Create a settings page (optional)
Settings page is a place where you can:
- Prompt users to connect their accounts with your OAuth2.1 provider.
- Display configuration options.
- Inform users about additional installation steps, if there are any.
If you need to access LiveChat user data, we recommend using the Sign in with LiveChat flow on your settings page. For more information on possible widget placements, visit the app locations document.
Sample settings page scenario
If you're building an integration that binds LiveChat data with an external service, you should create a settings page that:
- Makes use of the Sign in with LiveChat flow.
- Imports your sign in form or other authorization flow, e.g. server-side authorization code grant flow for backend apps.
- Binds both pieces of information and stores new users in your database.
- Displays a confirmation screen when the integration is up and running.
The settings page will appear right after a LiveChat user installs your app from the Marketplace.
6. Register the webhooks
Once you have the LiveChat credentials, you can register your webhooks.
Setting up webhooks v3 for development
If you're using the Configuration API v3.x, you can register your webhooks either via the Configuration API or in the Developer Console.
Via Configuration API
One of the options is to call the LiveChat Configuration API directly. We recommend you use the current stable version of the Configuration API. If you choose this option instead of using the Console's interface, remember you need to both register and enable webhooks.
💡 Not familiar with webhook registration and enablement? Version 3.3 of the Configuration API introduced significant changes to the way LiveChat webhooks work. To learn the details, read this article.
In Developer Console
If you're using v3.3, you can register your webhooks in the Chat webhooks building block. Setting up webhooks via the Console's interface automates the process of webhook registration and enablement.
Learn how to set up webhooks in Developer ConsoleSetting up webhooks v2 for development
Another possible development option is to set up your webhooks from within the LiveChat Agent App. However, please note that this configuration uses Configuration API v2 webhooks, which are now deprecated. We highly recommend using the Configuration API v3 webhooks.
To set up webhooks from within the LiveChat Agent App, go to Settings > Integrations > Webhooks and set up your webhook URLs.

Each webhook consists of the following properties:
- Event – determines when the webhook is sent to your web server.
- Data type – allows you to select which information will be included in the webhook.
- Target URL – the address of your web server the webhook will be sent to.
Webhooks v2 reference (deprecated)
Note: This reference is deprecated. Versions 3.x of Platform APIs introduce new webhook interfaces. We highly recommend migrating out of the deprecated system. The new webhooks service has much more functionality and provides you with a higher control over the data. Please note that the new Platform APIs also provide a RTM (websocket) transport.
HTTP Basic Auth example
For security reasons it's recommended to use HTTP basic authentication. Credentials should be passed in this format: https://user:password@www.my-website.com
. We recommend using https:// in webhook URL.
.htaccess
AuthType Basic
AuthName "My Protected Area"
AuthUserFile /path/to/.htpasswd
Require valid-user
.htpasswd
livechat:$apr1$G9iXatUK$gPJLrKQsoWWkFCY/SXO/H.
https://livechat:password@www.my-website.com
Webhook format
Each webhook is a HTTP POST request made to the URL that you provide in the web app. The request's POST body contains webhook information in JSON format.
{
"event_type": "chat_started",
"token": "27f41c8da685c81a890f9e5f8ce48387",
"license_id": "1025707"
}
Each webhook contains the following properties:
event_type
– tells you the event that triggered the webhook. Possible values:chat_started
,chat_ended
,visitor_queued
.token
andlicense_id
– your authentication credentials that let you call LiveChat Configuration API v2 methods. You won’t need to use them unless you want to make a call to the LiveChat API right when you receive a webhook. In that case, you just need to pass thetoken
andlicense_id
credentials in your API call.- additional information – please read the Webhook data types section.
Webhook data types
{
"event_type": "chat_started",
"token": "27f41c8da685c81a890f9e5f8ce48387",
"license_id": "1025707",
"visitor": {
"id": "S1354547427.0c151b0e1b",
"name": "John",
"email": "john.smith@gmail.com"
}
}
In some cases, you may want to get some additional information when a particular event occurs.
For example, when the chat starts, you may want to know the exact chat start time along with the visitor's name and email provided in the pre-chat survey. To get this information, you can add additional data types that will be sent to your web server along with each webhook.
Event type | Supported data types |
---|---|
visitor_queued | visitor |
chat_started | chat , visitor , pre_chat_survey |
chat_ended | chat , visitor , pre_chat_survey |
chat_changed | chat , visitor |
ticket_created | ticket |
canned_response_changed | canned_response |
Note: chat_changed
event type is sent only when the tag list for a particular chat was changed, no matter if the chat is currently active or not.
chat
{
"chat": {
"id": "MH022RD0K5",
"started_timestamp": 1358937653,
"ended_timestamp": 1358939109,
"messages": [
{
"user_type": "agent",
"author_name": "John Doe",
"agent_id": "john.doe@mycompany.com",
"text": "Hello",
"timestamp": 1358937653
},
{
"user_type": "supervisor",
"author_name": "James Doe",
"agent_id": "james@mycompany.com",
"text": "This is whispered message.",
"timestamp": 1358937658
},
{
"user_type": "visitor",
"author_name": "Mary Brown",
"text": "How are you?",
"timestamp": 1358937661
}
],
"tags": ["sales", "support", "feedback"]
}
}
Include this data type if you need to know chat start and end time or the full chat transcript.
visitor
"visitor": {
"id": "S126126161.O136OJPO1",
"name": "Mary Brown",
"email": "mary.brown@email.com",
"custom_variables": [
{
"key": "Customer ID",
"value": "POQ51023XZA"
}
]
}
This data type includes visitor’s name and e-mail address.
pre_chat_survey
"pre_chat_survey": [
{
"id": "135963440121804757",
"type": "name",
"label": "Your name",
"answer": "Mary Brown"
},
{
"id": "135963440121802531",
"type": "email",
"label": "Your e-mail",
"answer": "mary.brown@email.com"
},
{
"id": "135963613764705707",
"type": "checkbox",
"label": "What are your favourite music bands?",
"answers": [{
"label": "Deep Purple",
"chosen": true
},
{
"label": "Iron Maiden",
"chosen": false
},
{
"label": "Guns N' Roses",
"chosen": true
}]
}
]
Include this data type if you need to know the exact results of the pre-chat survey that was filled in by the visitor.
ticket
"ticket":{
"assignee":{
"id":"agent.gregory@email.com",
"name":"Gregory"
},
"events":[
{
"author":{
"id":"mary.brown@email.com",
"name":"agent4",
"type":"agent"
},
"date":"2014-08-18T10:05:05Z",
"is_private":false,
"message":"How are you?",
"source":{
"type":"agent-app-manual",
"url":null
},
"type":"message"
}
],
"groups":[
{
"id":0,
"name":"All operators"
}
],
"id":"CCWWM",
"requester":{
"mail":"mary.brown@email.com",
"name":"Mary Brown"
},
"status":"open",
"subject":"Welcome",
"tags":['support'],
"source":{
"type":"lc2",
"url":null,
"id":"NO4Y5FAERW"
}
}
This data type includes the details of a ticket.
canned_response_changed
"canned_response":{
"group": 0,
"id": 1,
"modification_date": 1494230856,
"tags": [
"shortcut1",
"shortcut2"
],
"text": "Can I help you with anything else?"
}
This data type includes canned response details.