Sign in with LiveChat
Introduction
The Sign in with LiveChat flow is the easiest way to get access to basic information in LiveChat and HelpDesk accounts. It allows you to quickly build an app that can access that info.
User flow
Users start the flow by clicking the Sign in with LiveChat button:

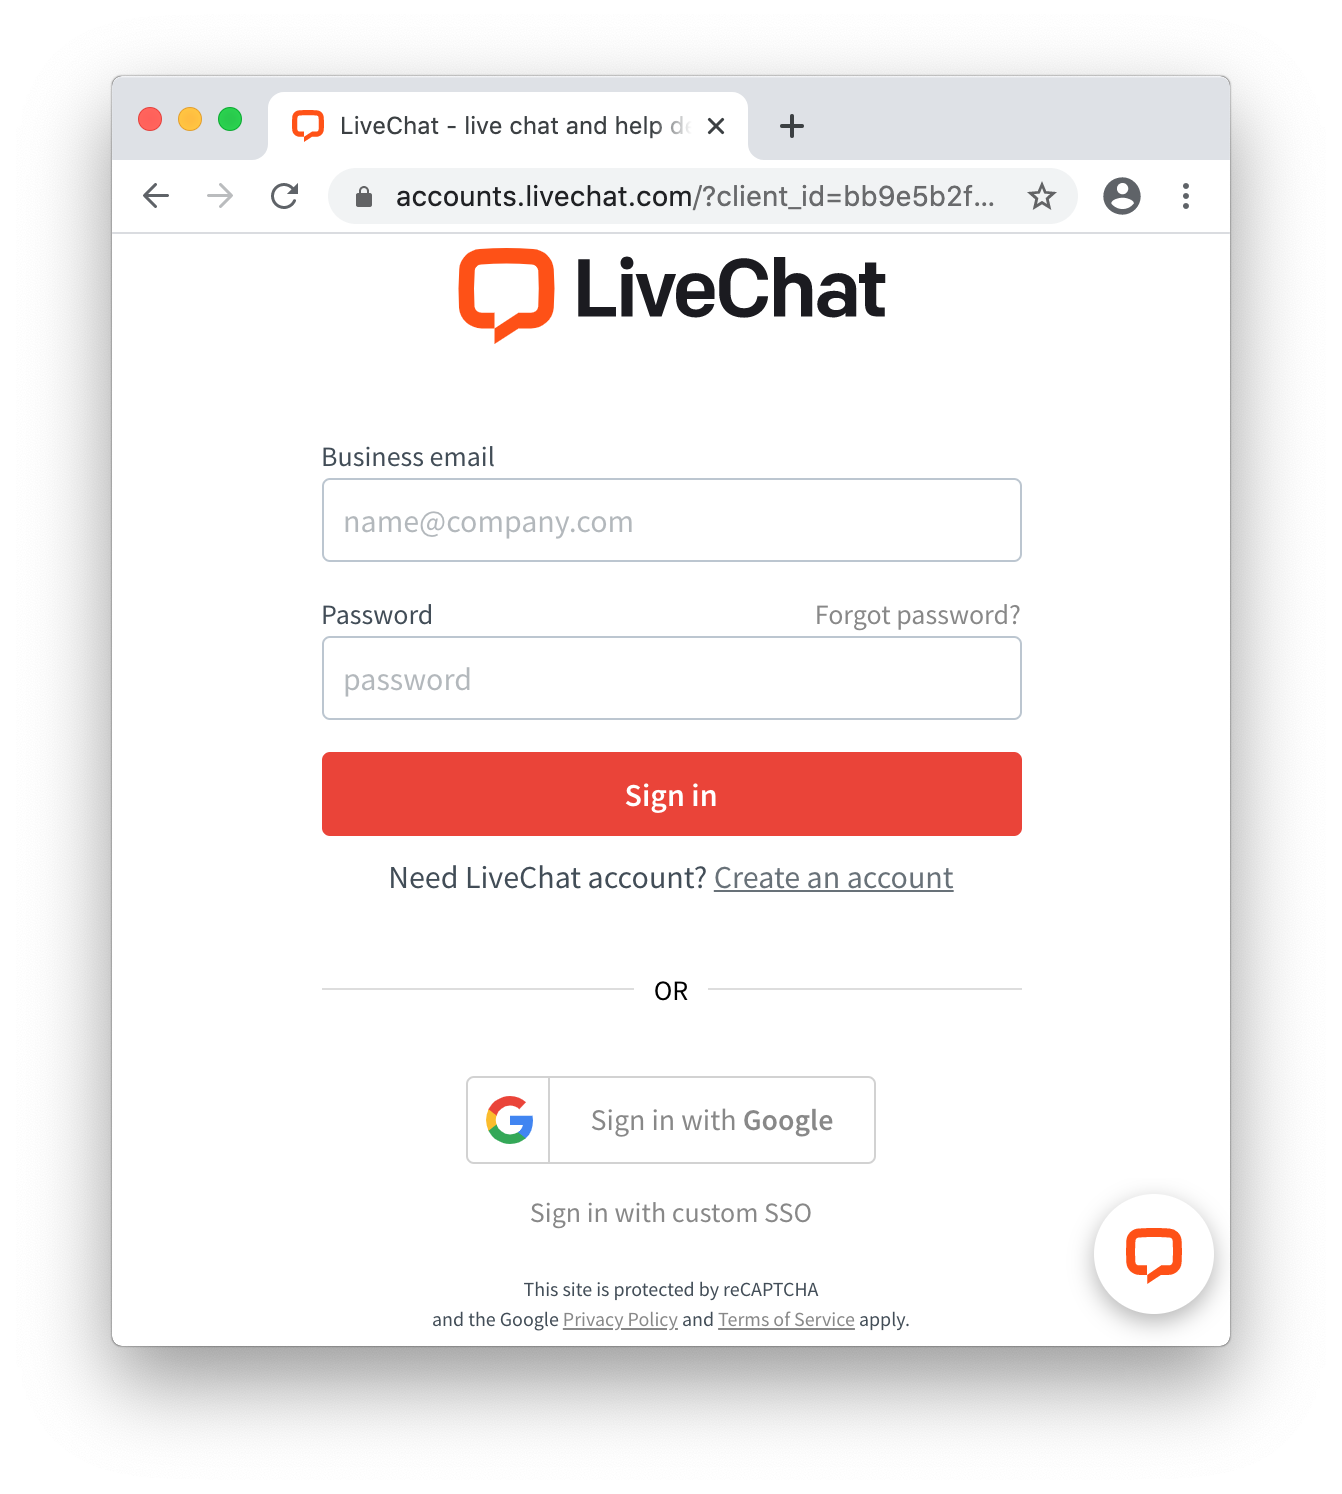
If a user is not signed in to LiveChat, they'll be asked to do that:
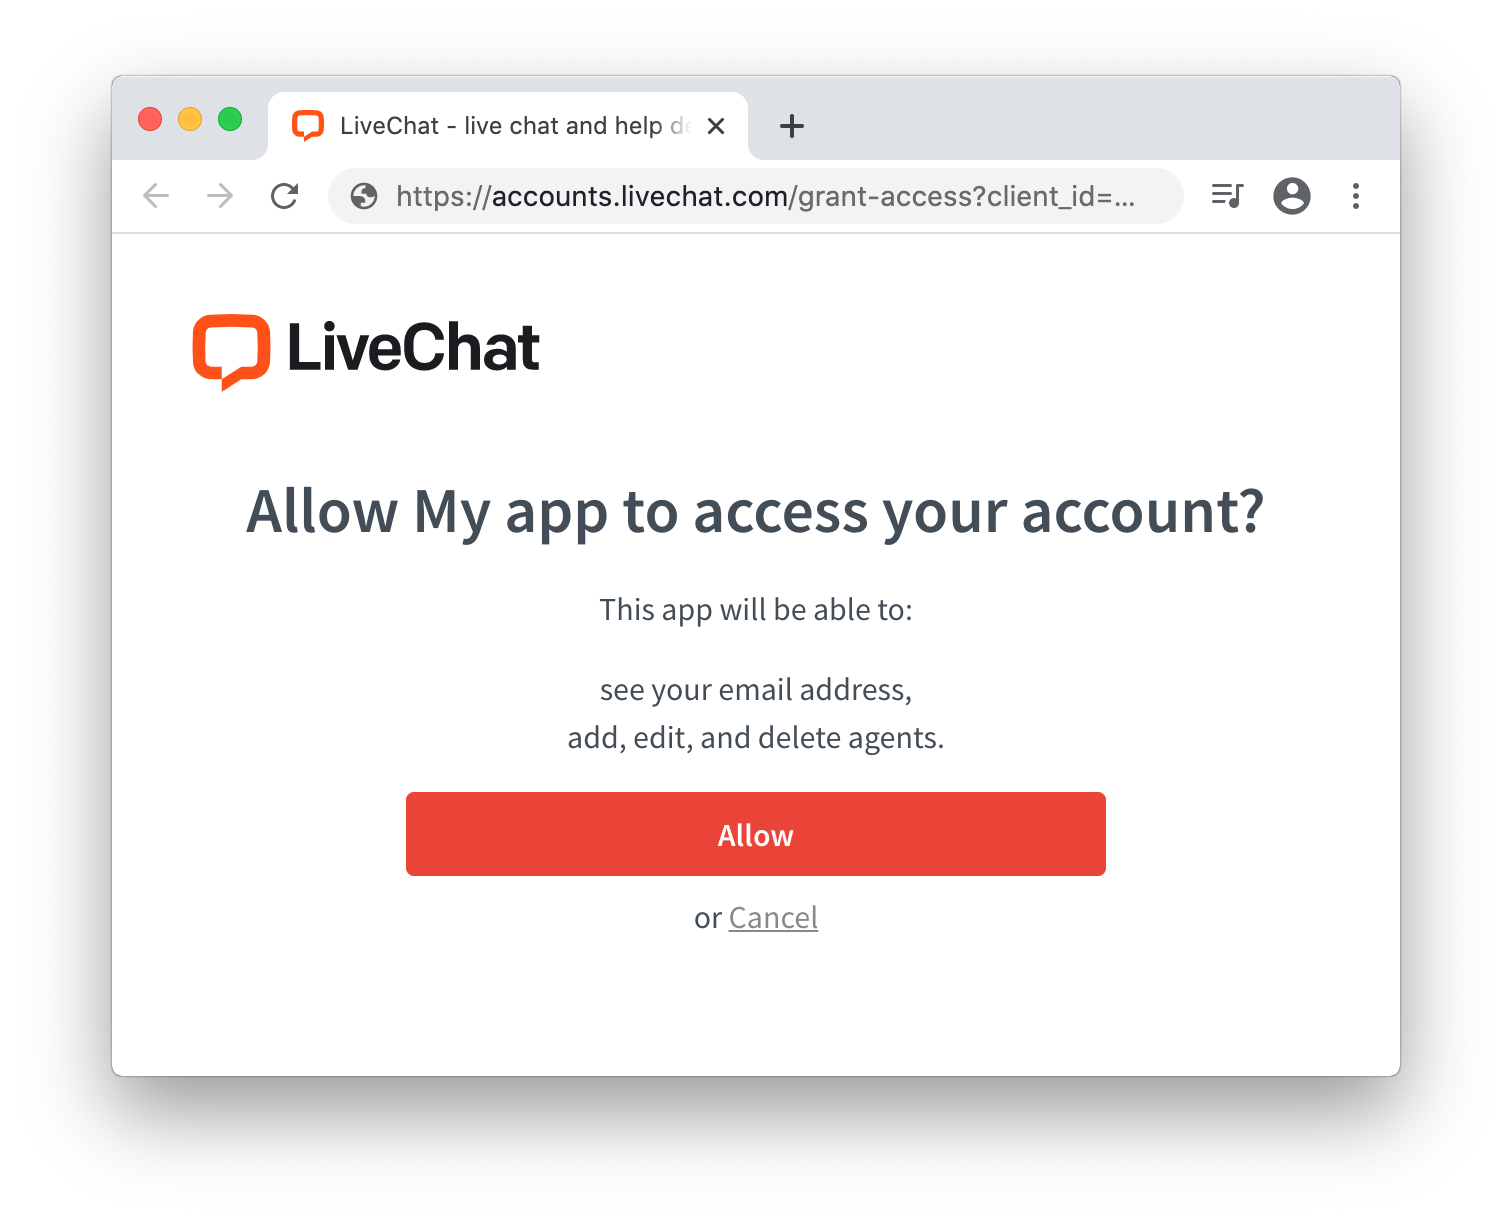
Then, the user must give the app access to the specified parts of their LiveChat account:
Finally, the app receives an access_token that allows it to perform different API calls, limited to what the user agreed to in the prompt.
For example, you can display the LiveChat tracking code which already includes the user's account license number:
TRACKING CODE<!-- Start of LiveChat (www.livechat.com) code -->
<script>
window.__lc = window.__lc || {};
window.__lc.license = 11069052;
;(function(n,t,c){function i(n){return e._h?e._h.apply(null,n):e._q.push(n)}var e={_q:[],_h:null,_v:"2.0",on:function(){i(["on",c.call(arguments)])},once:function(){i(["once",c.call(arguments)])},off:function(){i(["off",c.call(arguments)])},get:function(){if(!e._h)throw new Error("[LiveChatWidget] You can't use getters before load.");return i(["get",c.call(arguments)])},call:function(){i(["call",c.call(arguments)])},init:function(){var n=t.createElement("script");n.async=!0,n.type="text/javascript",n.src="https://cdn.livechatinc.com/tracking.js",t.head.appendChild(n)}};!n.__lc.asyncInit&&e.init(),n.LiveChatWidget=n.LiveChatWidget||e}(window,document,[].slice))
</script>
<noscript><a href="https://www.livechat.com/chat-with/11069052/" rel="nofollow">Chat with us</a>, powered by <a href="https://www.livechat.com/?welcome" rel="noopener nofollow" target="_blank">LiveChat</a></noscript>
<!-- End of LiveChat code -->
Use cases
With the Sign in with LiveChat flow, you can easily build an app that:
- Gets access to the LiveChat user's email, account ID, or organization ID.
- Receives an
access_tokenthat can be used to perform LiveChat or HelpDesk API calls. - Receives a
codeusing the PKCE extension, which could be then used to obtain the account'srefresh_tokenandaccess_token.
Make sure you test your integration on the LiveChat mobile app, which requires Accounts SDK v2.0.1 or higher. Consider migrating if you use an older version of the SDK.
Setup
Step 1: Create a new app
Create a new LiveChat OAuth 2.1 Client app in Developer Console. You will receive a new client_id that can be used in the next steps.
Please note that Redirect URI field must match the URL of the website that has the Sign in with LiveChat button installed. The button will not work with any other URL addresses.
Step 2: Include the SDK library
You can install the SDK from NPM.
NPM module
NPM module installationnpm install --save @livechat/accounts-sdk@^2.0.0
NPM module importimport AccountsSDK from '@livechat/accounts-sdk';
If you build an app using Webpack, you can just import the AccountsSDK module from NPM.
Step 3: Prepare button container
Prepare the login button, which will invoke the authorization flow when a user clicks it.
<div id="login-button" style="background: url(.../livechat_sign_in.png)"></div>
Prepare the button container// javascript
const instance = new AccountsSDK({
client_id: '<your_app_client_id>',
redirect_uri: '<your_app_redirect_uri>'
});
document.getElementById('login-button').onclick = (e) => {
if (e && e.preventDefault) {
e.preventDefault();
}
instance.popup().authorize().then((authorizeData)=>{
const transaction = instance.verify(authorizeData);
if (transaction != null) {
// authorization success
// authorizeData contains `accessToken` or `code`
// transaction contains state and optional code_verifier (code + PKCE)
console.log("User access token: " + transaction.accessToken)
document.getElementById('login-button').style.display = "none"
} else {
console.log("Redirect state doesn't match the previous one")
}
}).catch((e)=>{
console.error("Failed to authorize user", e)
})
};
During the creation of the Sign in LiveChat button, you can use LiveChat Designs.
Don't forget to test the give consent step. Use prompt: "consent" to force the app to ask you for access to certain resources. It’s necessary for you to test the app as if you were a user who installs the app from Marketplace.
Accounts SDK
Classes
AccountsSDK
The main instance of the SDK used to authorize users in LiveChat Accounts.
Example class creationconst instance = new AccountsSDK({
client_id: '<your_app_client_id>'
});
The constructor accepts an options object with the following properties:
| Property | Required | Data type | Description |
|---|---|---|---|
client_id | yes | string | Application Client Id (can be found in Developer Console) |
prompt | no | string | Use consent to force the consent prompt in a popup and the redirect flows. (See the warning.). Default: '' |
response_type | no | string | OAuth response type. Possible values: token or code. Default: token |
popup_flow | no | string | auto – close the popup automatically if the user is already logged in; manual - always show the popup that requires the user to provide their credentials; default: auto |
state | no | string | OAuth state parameter. Use it for better security. |
verify_state | no | bool | Check if state matches after the redirect; default: true |
scope | no | string | The scopes your application will request from the user; if not provided, then all application scopes will be requested. It must be configured for a given client id, a comma-separated string, default: null |
redirect_uri | yes | string | OAuth redirect URI; default: the current location |
email_hint | no | bool | Fill in email in forms |
server_url | no | string | Authorization server URL |
tracking | no | object | Object with tracking query string params |
transaction1 | no | object | An object with options for the transaction manager |
pkce2 | no | object | An object with the PKCE configuration |
1) The transaction object consists of the following parameters:
| Property | Required | Data type | Description |
|---|---|---|---|
namespace | no | string | Transaction key prefix; default: 'com.livechat.accounts' |
key_length | no | string | Transaction random state length; default: 32 |
force_local_storage | no | bool | Try to use localStorage instead of cookies; default: false |
💡 You need to use the PKCE extension if your JavaScript application will try to acquire the authorization code in order to exchange it for tokens.
2) In the pkce object, define the following configuration properties:
| Property | Required | Data type | Description |
|---|---|---|---|
enabled | yes | bool | Enable OAuth 2.1 PKCE extension; default: true |
code_verifier | no | string | Override the auto-generated code verifier. |
code_verifier_length | no | integer | Define the length of the code verifier. It should be between 43 and 128 characters; default: 128. Read more... |
code_challange_method | no | string | Define the code challenge method. Possible values: S256 or plain; default: S256 |
Available class methods:
popup
Returns a Popup object instance built on top of sdk.
| Parameter | Data type | Description |
|---|---|---|
options | object | An object with the same parameters as provided in AccountsSDK |
popup(options={}) const popup = instance.popup({
client_id: '<your_app_client_id>'
});
redirect
Returns a Redirect object instance built on top of sdk.
| Parameter | Data type | Description |
|---|---|---|
options | object | An object with the same parameters as provided in AccountsSDK |
redirect(options={}) const redirect = instance.redirect({
client_id: '<your_app_client_id>'
});
authorizeURL
Creates an authorization URL for the given flow and parameters.
| Parameter | Data type | Description |
|---|---|---|
options | object | An object with the same parameters as provided in AccountsSDK |
flow | string | code or token. code can only be used with the PKCE flow |
authorizeURL(options={},flow) const authURL = instance.authorizeURL({
client_id: '<your_app_client_id>'
}, "token");
verify
Verifies if the state parameter from the redirect matched the one provided upon initialization, If it does, the method returns Transaction, which is used under the hood for state verification. Otherwise, it returns null.
In all methods of the AccountsSDK object, the options objects is used to overwrite the data provided upon initialization.
| Parameter | Data type | Description |
|---|---|---|
authorizeData | object | Data returned from the redirect |
verify(authorizeData) const transactionData = instance.verify(authorizeData);
if (transactionData) {
console.log("Verified correctly");
} else {
console.log("Url/state mismatch");
}
Popup
A class responsible for acquiring the user authorization data through a popup window.
| Parameter | Data type | Description |
|---|---|---|
options | object | An object with the same parameters as provided in AccountsSDK |
sdk | object | An sdk instance |
constructor(sdk, options)const instance = new AccountsSDK({
client_id: '<your_app_client_id>'
});
const popup = new Popup(instance, instance.options);
A popup object instance could be also created via sdk with:
const popup = instance.popup();
Available class methods:
authorize
Returns a promise that resolves with the user authorization data or an error.
authorize() popup.authorize().then((authorizeData) => {
console.log("authorize data acquired: " + authorizeData);
}).catch(e => {
console.error("Failed to acquire authorization data: " + e);
});
Sample app with the popup flow
The Sample app with the popup flow has a fully implemented authorization flow. You can test it, experiment with it, or modify its code and extend its functionality.
Redirect
A class responsible for acquiring the user authorization data through the redirect method.
| Parameter | Data type | Description |
|---|---|---|
options | object | An object with the same parameters as provided in AccountsSDK |
sdk | object | An sdk instance |
constructor(sdk, options)const instance = new AccountsSDK({
client_id: '<your_app_client_id>'
});
const redirect = new Redirect(instance, instance.options);
A redirect object instance could be also created via sdk with:
redirect()const redirect = instance.redirect();
Available class methods:
authorize
Starts the redirect authorization flow.
authorize() redirect.authorize();
authorizeData
Checks if a user was redirected to the current origin with the authorization data. It returns a promise that resolves with the user authorization data or with an error.
authorizeData() redirect.authorizeData().then((authorizeData) => {
console.log("Authorization data acquired: " + authorizeData);
}).catch(e => {
console.error("Failed to acquire authorization data: " + e);
redirect.authorize(); // Try to redirect user to authorization once more
});
Sample app with the redirect flow
The Sample app with the redirect flow has a fully implemented authorization flow. You can test it, experiment with it, or modify its code and extend its functionality.
Exchanging code for tokens with the PKCE extension
In order to acquire both access_token and refresh_token by a frontend application, you should use the PKCE Extension, which prevents the usage of a hijacked redirect by malicious apps.
- Start by enabling PKCE. To do so, provide
AccountsSDKinstance with PKCE options.
Enable PKCE const instance = new AccountsSDK({
client_id: '<your_app_client_id>',
redirect_uri: '<your_app_redirect_uri>',
response_type: "code",
pkce: {
enabled: true
}
});
- Then, using the
redirectflow, you're able to receive thecodeauthorization data:
Receive authorization code data instance.redirect().authorizeData().then((authorizeData) => {
const transactionData = instance.verify(authorizeData);
if (transactionData === null) {
console.log("Failed to verify authorization data");
return;
}
fetch(instance.options.server_url + "/v2/token", {
headers: {
'Accept': 'application/json',
'Content-Type': 'application/json'
},
method: "POST",
body: JSON.stringify({
grant_type: "authorization_code",
code: authorizeData.code,
client_id: transactionData.client_id,
redirect_uri: transactionData.redirect_uri,
code_verifier: transactionData.code_verifier,
})
})
.then((res) => { res.json()}).then((data) => {console.log("User tokens: " + data)})
.catch((e) => { console.log("Failed to exchange code: " + e) })
}).catch(e => {
// As we don't have any authorization data, then we can try o authorize user
const wasRedirected = sessionStorage.getItem('lc_accounts');
if (wasRedirected === "yes") {
console.error("Couldn't authorize user: " + e);
return
}
sessionStorage.setItem('lc_accounts', yes);
instance.redirect().authorize(); // Initiate authorization redirect flow
})
Response format
All authorize methods return the user authorization data when resolving with success, or return an error when something goes wrong.
Success
For successful user authorization processes, the returned data will consists of the following elements:
| Field | Returned | Description |
|---|---|---|
access_token | only for response_type: token | Used for authorizing LiveChat API calls. |
code | only for response_type: code | Must be exchanged for access_token and refresh_token |
scope | for both response types | An array of scopes that access_token has. |
expires_in | for both response types | Defines for how long access_token will be valid. |
account_id | only for response_type: code | LiveChat Accounts user ID (can be found in Developer Console) |
organization_id | only for response_type: code | LiveChat Accounts organization ID to which the account is logged in. |
client_id | only for response_type: code | client_id that you passed in the init method. |
💡 You can validate an access token by calling /v2/info. Read more...
Error
If the authorization process fails, the promise will be rejected with an error. The error will have the following properties:
  {
    "oauth_exception": "<exception_name>"
    "identity_exception": "<exception_name>"
    "description": "<exception_description>"
  }
Authentication errors
identity_exception
Possible values:
unauthorized– The resource owner identity is unknown or the consent is missing.
Authorization errors
oauth_exception
Possible values:
invalid_request– The request is missing a required parameter, includes an invalid parameter value, includes a parameter more than once, or is otherwise malformed. Examples: wrong HTTP method, invalid HTTP body encoding.unauthorized_client– The client is not authorized to request a token using this method. Examples: missingclient_idparam, incorrectclient_idvalue,refresh_tokennot found, invalidclient_secret, invalidredirect_uri.access_denied– The resource owner or authorization server denied the request. For example, the requested scope includes a scope not originally granted by the resource owner.unsupported_response_type– The authorization server doesn't support acquiring a token using this method. For example,response_typeis nottokenorcode.